
ZeeConvert·Aug 14, 2026·4 min read
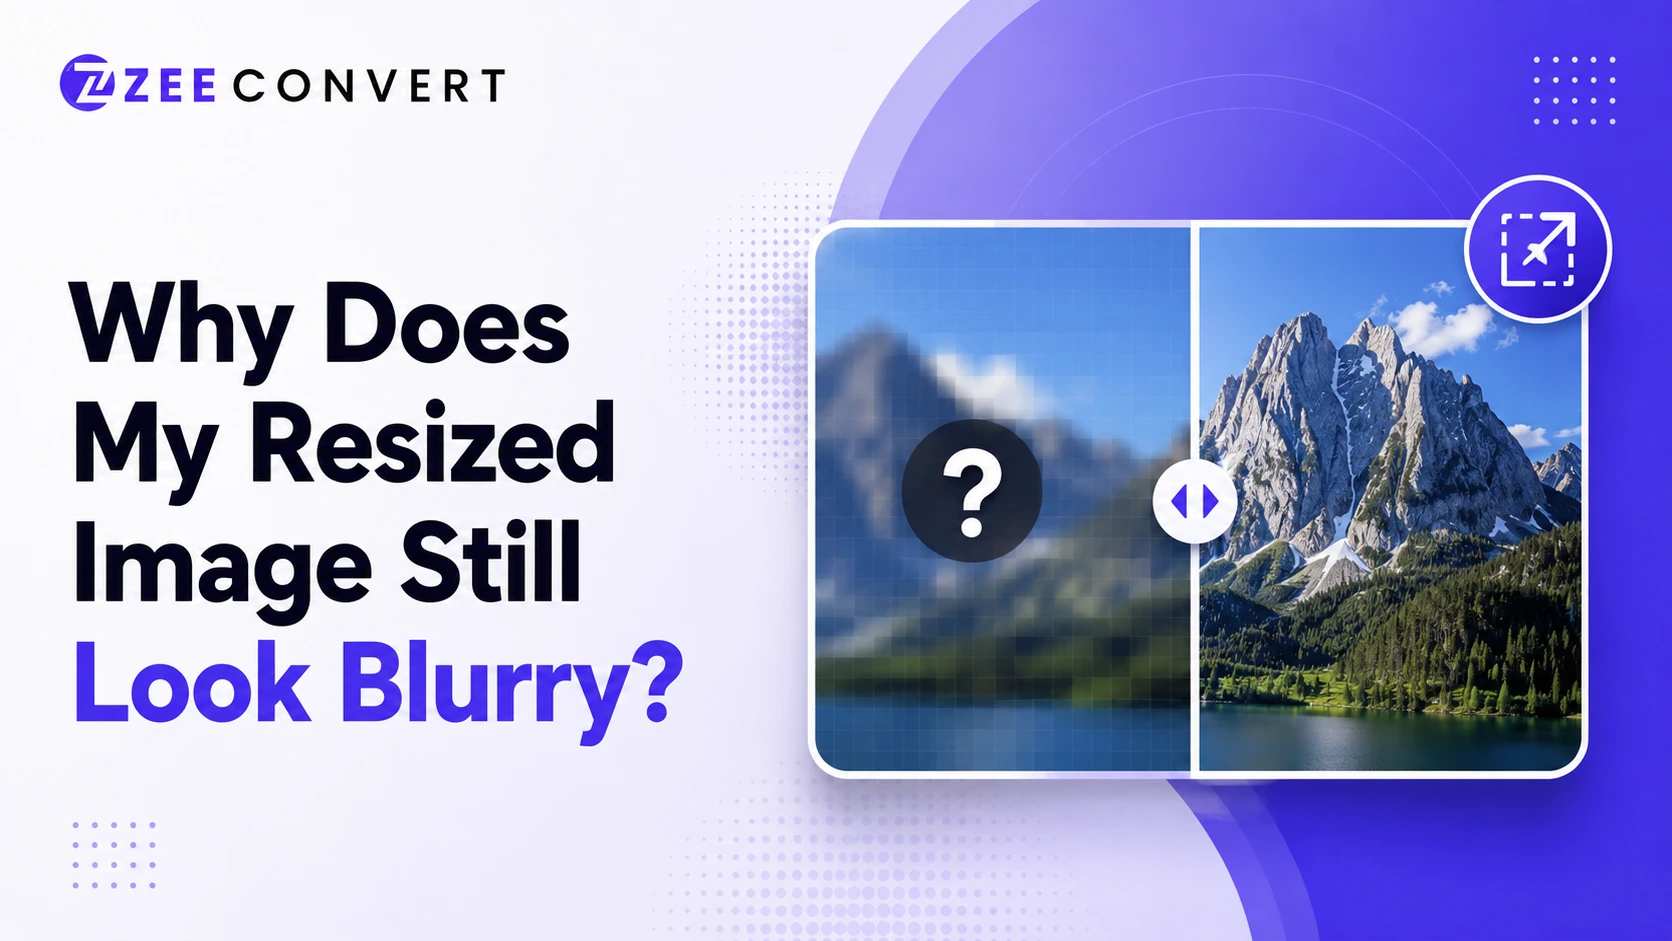
Your resized image looks blurry because you scaled it up past its original resolution, or the resizing tool used a weak interpolation method that guesses pixels instead of preserving real detail. Scaling a small image up always loses sharpness, since there's no extra data to pull from, the software is just stretching what already exists. If you're shrinking an image down and it still looks soft, the tool is probably applying compression on top of the resize, or skipping a sharpening pass that good resizers usually include.
Every image is made of a fixed number of pixels. A 500 by 500 photo has exactly 250,000 pixels and not one more. When you resize that image up to 1000 by 1000, the software has to invent 750,000 new pixels out of nowhere.
It does this through interpolation. Basically, it looks at nearby pixels and guesses what the new ones should look like. Sounds smart in theory. In practice, this guessing is where blur creeps in, because the software is averaging colors instead of recreating actual detail that was never captured in the first place.
This is the single biggest reason resized images look soft. People assume resizing is just changing the size box in a menu. It's actually the software rebuilding a huge portion of the image from scratch, and that rebuild is never as sharp as the real thing.
Going bigger and going smaller are not the same operation, even though most tools treat them with one slider.
Upscaling always loses quality. There's no way around this with traditional resizing. You're asking the software to invent detail that doesn't exist. Even the best AI upscalers today are making educated guesses, not recovering lost information.
Downscaling should theoretically be easier since you're throwing pixels away, not making them up. But here's where a lot of tools mess it up anyway. When you shrink an image without proper sharpening afterward, fine details like hair strands, text edges, or textures blend together and the whole thing reads as slightly out of focus, even though technically nothing was "lost" the way it is with upscaling.
Not all resizing algorithms are equal, and this is something almost nobody checks.
Nearest neighbor is the crudest method, it just copies the closest pixel value, which is fast but creates blocky, jagged results. Bilinear interpolation averages nearby pixels, which smooths things out but tends to create that soft, blurry look people complain about. Bicubic interpolation is smarter, it factors in more surrounding pixels and generally produces sharper, more natural results, which is why most professional tools default to it.
If your resized images consistently come out soft no matter what you do, there's a decent chance the tool you're using is running a cheaper interpolation method behind the scenes and just not telling you.
Here's something that trips people up constantly. They resize an image, it looks blurry, and they blame the resize. But often the actual problem is compression happening at the same time.
A lot of free online tools resize and compress in a single step, and if that compression is aggressive, you'll lose sharpness even though the dimensions changed correctly. The resize did its job fine. The compression is what wrecked it.
This is honestly one of my biggest pet peeves with a lot of "quick" resize tools online. They advertise instant resizing but quietly crush your quality because they're optimizing for smaller output files, not for how the image actually looks afterward.
Start by checking your source image resolution before you resize anything. If you're trying to make a 400 pixel wide photo into a 1200 pixel wide banner, that's the problem right there, no tool on earth is going to make that look crisp.
If you're downscaling and it's still blurry, look for a tool that applies sharpening after resizing, not just before. Some tools let you toggle this manually, others do it automatically but poorly.
And if you're working with something like a logo or graphic that has flat colors and sharp edges, consider whether you should even be resizing a raster image at all. A vector file scales infinitely without any blur, since it's built from math and shapes instead of fixed pixels. Photos don't have this luxury, but logos and icons often do if you have access to the original vector version.
If you want to test whether your source image can actually handle the size you're targeting, running it through ZeeResizer will show you the real output before you commit to using it anywhere, rather than finding out it's blurry after you've already uploaded it somewhere important.
Blur after resizing almost always comes down to one of three things. You upscaled past the image's real resolution, your tool used a weak interpolation method, or compression got applied alongside the resize and quietly ruined the sharpness. Once you know which one is actually happening, fixing it stops being a guessing game and becomes a five minute check.
JPG to PNG Converter
Convert JPG photos to PNG so repeated editing and saving stops eating away at the picture.
Image DPI Converter
Change the DPI stored in a JPG, PNG, TIFF or BMP, keeping either the pixels or the printed size.
Image DPI Checker
Read the DPI stored in an image and see the size it prints at, without changing the file.
PNG To ICO Converter
Turn a PNG into a ready-to-use ICO icon for your website favicon or a Windows shortcut. Free and handled entirely in your browser.