
ZeeConvert·Aug 19, 2026·4 min read
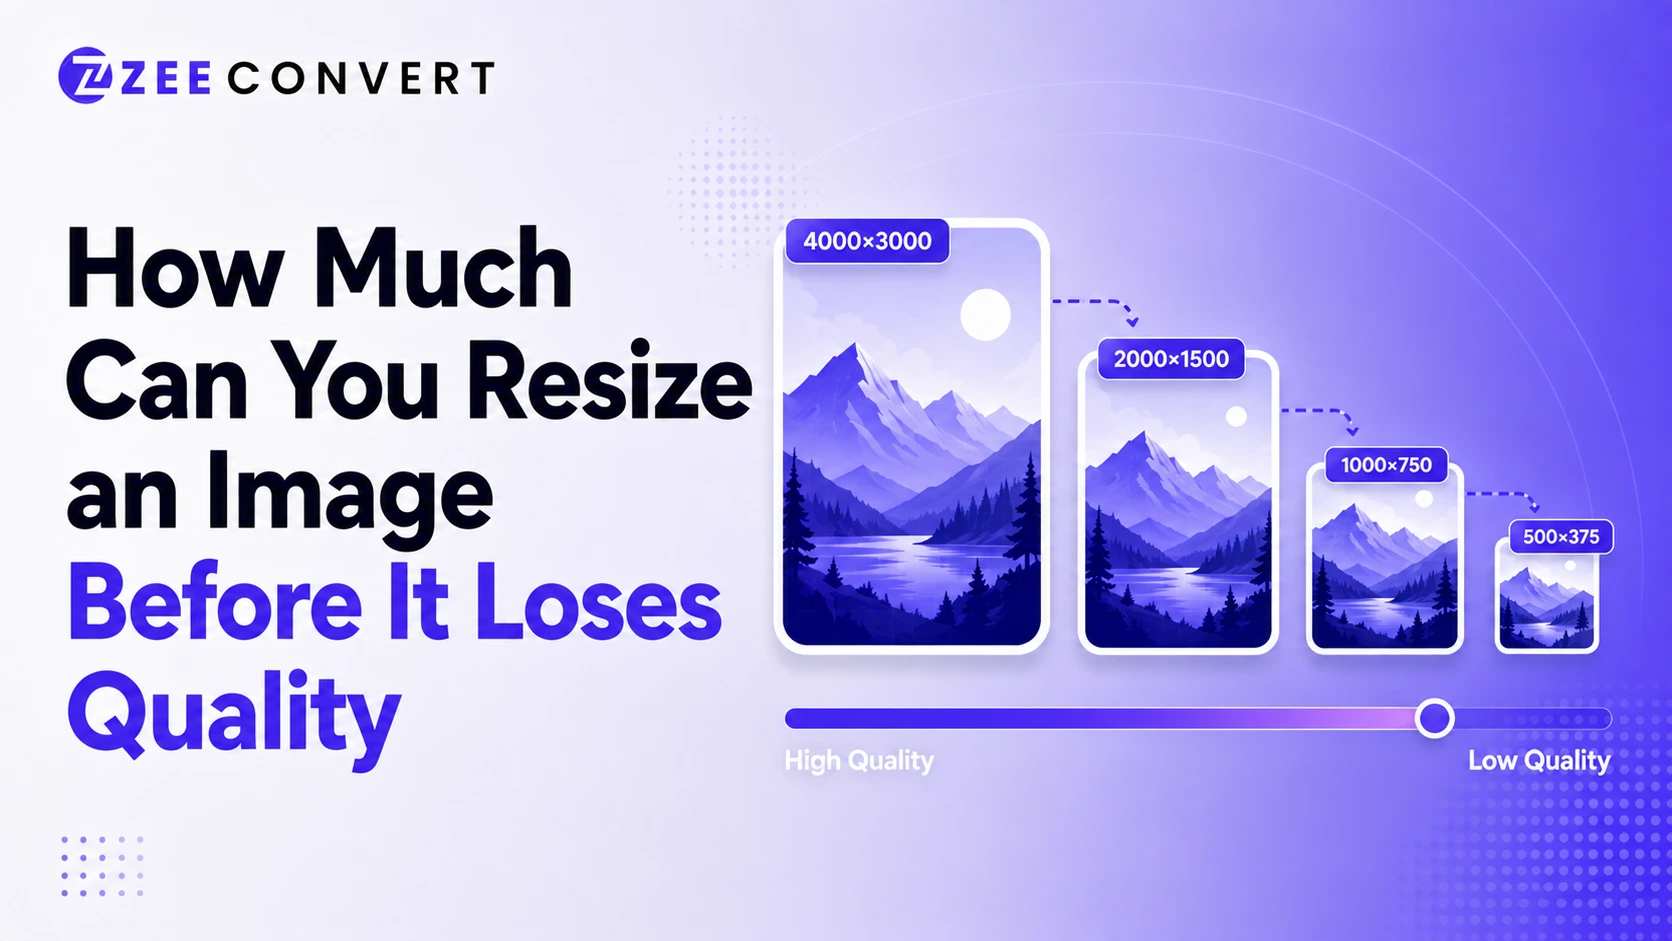
Shrinking an image down almost never causes visible quality loss, even at pretty extreme ratios, because you're just removing pixel information the display doesn't need anyway. Enlarging an image is a completely different story though. Anything past roughly 110 to 120 percent of the original size starts introducing visible softness, and by 150 percent most images look noticeably blurry or blocky. The real answer depends on which direction you're resizing, what the image contains, and what format it started as.
When you make an image smaller, the software has real pixel data to work with. It's averaging existing information down into fewer pixels, not inventing anything new. A 4000 pixel wide photo shrunk to 800 pixels wide still has plenty of actual detail to draw from, so the result usually looks crisp, sometimes even sharper than the original because fine noise gets smoothed out in the process.
This is why thumbnails, web banners, and social media previews rarely look bad even when they're a fraction of the original file's dimensions. You can go pretty aggressive here. Cutting an image down to 20 or even 10 percent of its original size typically still looks clean, as long as there's no text or fine detail that needs to stay legible at that tiny scale.
Enlarging works backwards from shrinking, and that's exactly the problem. There's no extra pixel data sitting around waiting to be used, so the software has to guess what those new pixels should look like based on the ones around them. That guessing is called interpolation, and no matter how good the algorithm is, it's still just an educated guess.
At small increases, say 105 to 110 percent, this guessing is usually invisible. Push past 120 or 130 percent and edges start to soften. Text becomes noticeably fuzzy. By the time you're doubling an image's dimensions, you're looking at visible blur, blocky patches, or a weird plasticky smoothness that gives away the enlargement immediately.
Some newer AI upscaling tools do a better job of filling in convincing detail instead of just blurring pixels together. But even those have limits, and they're solving a different problem than a basic resize tool is built for.
Not every image degrades at the same rate. Photos with lots of texture, like landscapes, fabric, or skin, tend to hide resizing artifacts pretty well since your eye is already expecting some visual noise. Simple graphics with flat colors and sharp edges show scaling problems much faster, especially logos, icons, and screenshots with text.
If you're enlarging a photo of a forest, you might get away with 130 percent before anyone notices. Try that same percentage on a company logo and it'll probably look off almost immediately, since hard edges are exactly where interpolation struggles the most.
Format matters less for resizing itself and more for what happens afterward. A PNG or any lossless format resizes cleanly since there's no compression artifacts to compound the problem. A heavily compressed JPG already has some quality loss baked in from compression, so resizing it, especially enlarging it, can make existing artifacts more obvious since they're getting stretched along with everything else.
Vector formats like SVG are the outlier here. Since they're built from mathematical shapes instead of pixels, you can resize them to basically any size with zero quality loss. That's exactly why logos and icons are often kept in SVG rather than PNG, so scaling never becomes an issue in the first place.
If you remember one number, make it this one. Staying under 100 percent, meaning shrinking rather than growing, is basically always safe. Once you're enlarging past 110 to 120 percent, quality loss becomes a real risk, and past 150 percent it's usually visible to anyone looking closely.
The best move if you know you'll need a larger version later is to start with the highest resolution original you can and resize down from there when needed, rather than starting small and trying to stretch it up. Working backwards from a big source file avoids the whole problem entirely.
If you need to resize an image and want to see exactly how it holds up before committing, our image resizer lets you preview the result at your target dimensions first.
JPG to PNG Converter
Convert JPG photos to PNG so repeated editing and saving stops eating away at the picture.
Image DPI Converter
Change the DPI stored in a JPG, PNG, TIFF or BMP, keeping either the pixels or the printed size.
Image DPI Checker
Read the DPI stored in an image and see the size it prints at, without changing the file.
PNG To ICO Converter
Turn a PNG into a ready-to-use ICO icon for your website favicon or a Windows shortcut. Free and handled entirely in your browser.